
CONTACT US:
425-295-2544

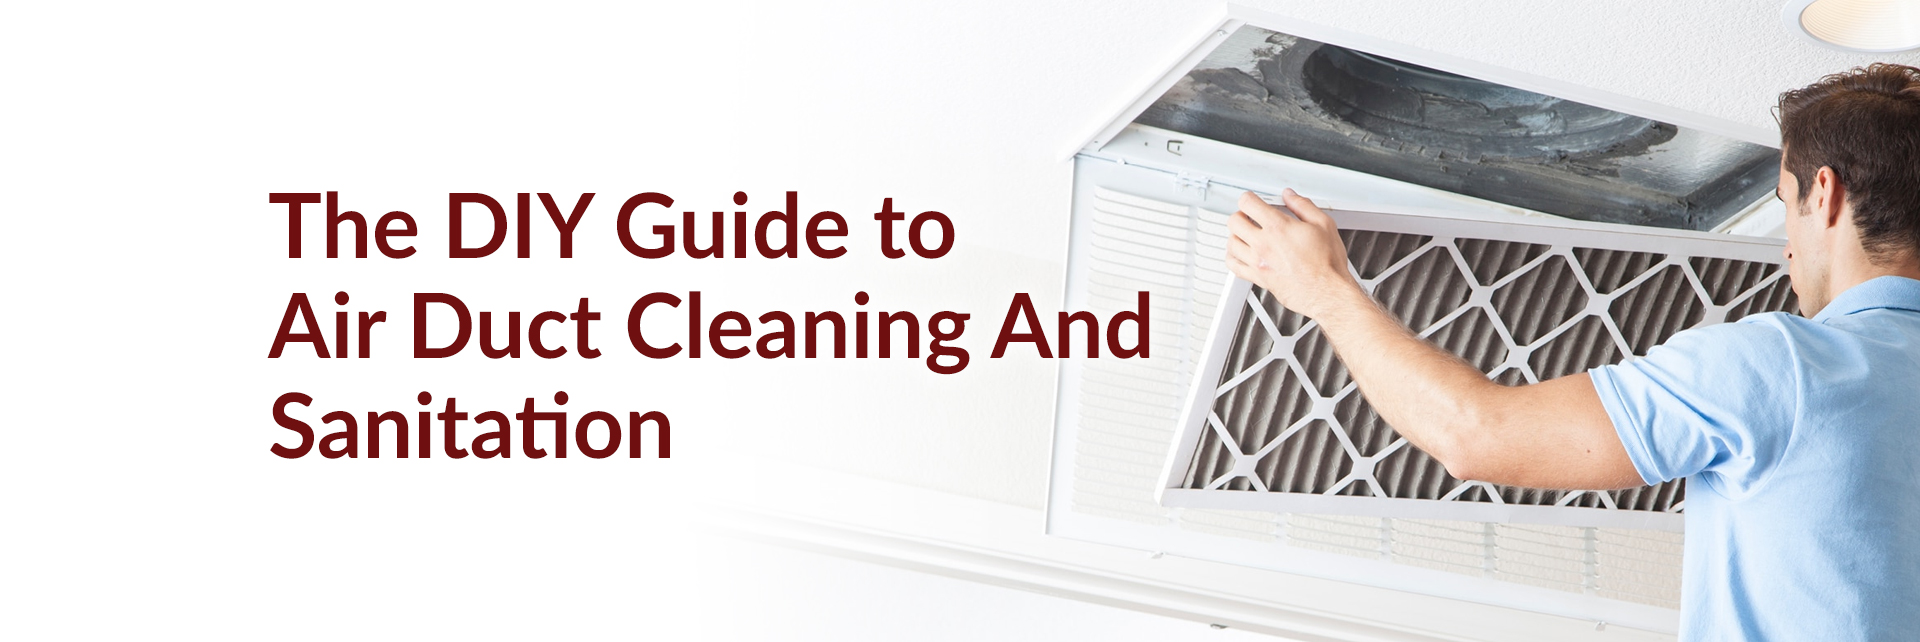
Air ducts get dirty. If a home HVAC system were run 24 hours a day, it would circulate an average of 40776.25909 cubic meters of air each day. That’s 48987.976 kg every 24 hours.
That means that all of the contaminants and unexpected debris gets circulated right along with the oxygen. Unsurprisingly, those contaminants accumulate throughout your air ducts. This can have a detrimental impact on the indoor air quality of your home or building.
Why Clean Your Own Ducts? Improving indoor air quality is the most common reason building- and homeowners contact an air duct cleaning service.

Common types of indoor air contaminants:
Carbon dioxide
Ozone
Dust, fiberglass, asbestos, and other particulates
Toxic vapors and gases
Dust mites
Fungi, mold
Several of these contaminants can impact your health in many adverse ways. They can also drive up your energy bills. Considering that the cost of utilities has been trending upwards for several years, that alone is reason enough to look into cleaning out your air ducts.
When to Clean
First of all, how do you know when it’s time to clean your air ducts? Poor health is one sign your HVAC system could be contaminated.

Some common health problems associated with poor indoor air quality include:
Headache
Fatigue
Dry eyes, nose, and throat
Allergies
Shortness of breath
Sinus congestion
Nausea
Dizziness
If you’re experiencing one or more of these symptoms and are having a hard time shaking them, it’s a good sign your HVAC is due for a cleaning.
Now let’s show you how to clean your ducts, to return your air quality to its pristine state.
Step #1: Assess Your Ducts
Air ducts come in many different shapes, sizes, and configurations. Some run overhead while others run beneath your floorboards. How your ducts are configured will impact how you go about cleaning them, but the overall principles are the same, regardless.
However, your HVAC system is set up, there’s likely going to be long stretches of ductwork that are hard to reach, no matter what duct cleaning equipment you’re working with. If you’re trying to get every last particle of dust, dirt, and contaminants, consider seeking a professional duct cleaning service.
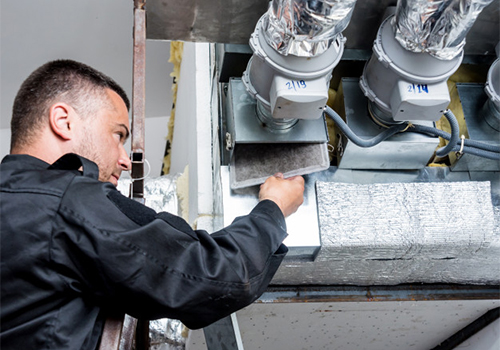
Step #2: Gather Your Supplies
Before you begin, you’ll want to gather everything you’ll need to clean your ducts thoroughly. You don’t want to leave your air ducts open for longer than necessary, especially before you’ve cleaned your system. You run the risk of flushing your home or business with all manner of contaminants if you leave your filters off for too long.
Equipment You’ll Need to Clean Your Air Ducts
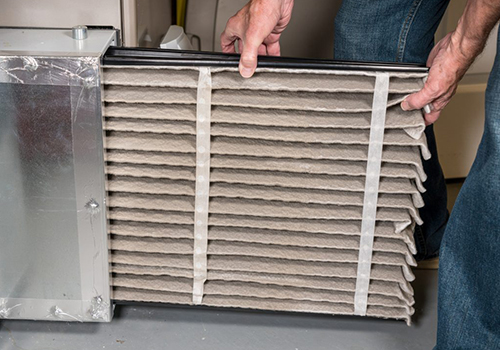
Furnace Filter
Dirty filters are one of the most common reasons for HVAC cleaning. Make sure to have fresh, clean filters to put on when your job is done.
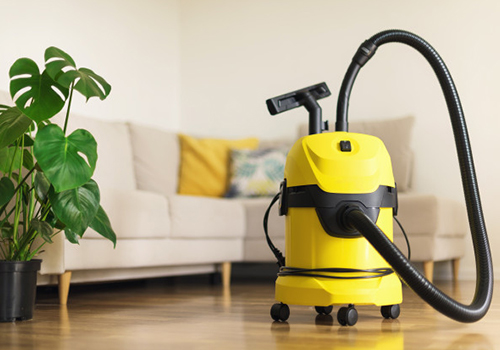
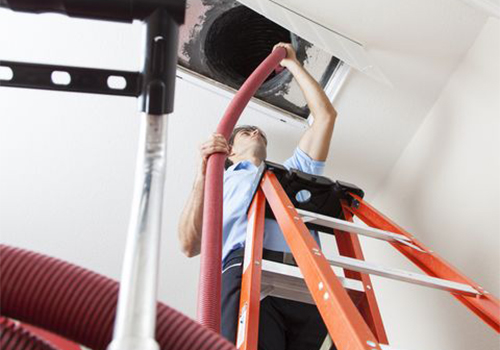
Vacuum
A shop-vac style vacuum is best for cleaning your ducts, but a standard home vacuum can serve in a pinch. Having the right vacuum is one of the best reasons to consult a duct cleaning specialist in Seattle.
Professional duct cleaning companies have specialized equipment with heavy-duty hoses that can reach every nook and cranny and get every speck of dust and contaminants.
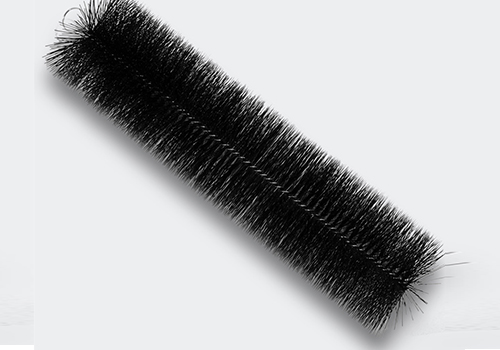
Brush
You’ll need a brush to unstick any stubborn contaminants clinging to your air ducts. Something resembling a toilet brush works best, but any stiff bristle brush should do.
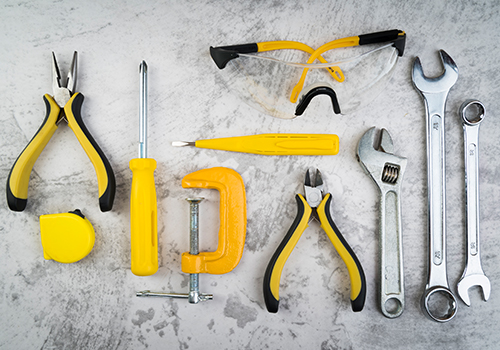
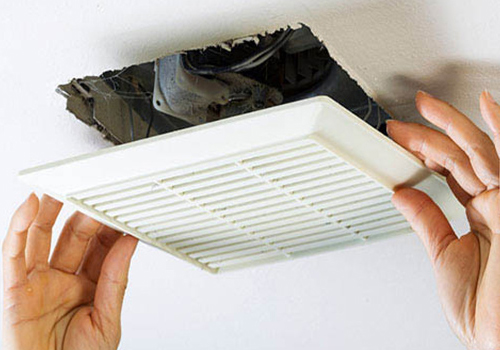
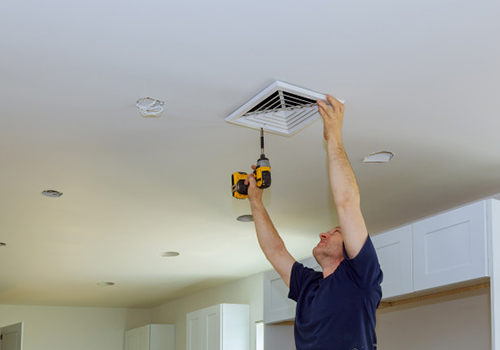
Screwdriver or Hex Wrench
Your grate covers are attached to something. You’re going to need some kind of screwdriver to remove these grates to access your air ducts. It’s best to have both a regular screwdriver as well as a Phillips head on hand before you begin. There’s nothing more frustrating than having to pause and search for a tool when you’re in the thick of a project.
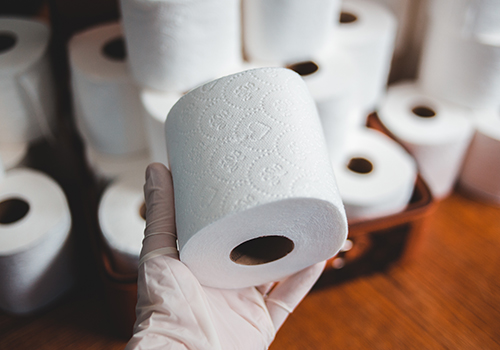
Paper Towels
You’ll also want to have some paper towels on hand for when you’re finished. We recommend using paper towels, as they’re likely to get very dirty. You don’t want to ruin your cloth towels.
Step #3: Cover Your Intake Vents
Intake vents are the coverings you find on the floor that provide central air to your room. You’ll need to cover that vent with a towel or covering of some kind. Otherwise, you’ll just keep pushing dust and contaminants from room to room.

Step #4: Run The Fan
Set your furnace to ‘Fan On’ once you begin cleaning your air ducts in earnest. You’ll need to flush all the dust from throughout your HVAC system. If your thermostat doesn’t feature a ‘Fan Only’ mode, you can run the heat to achieve a similar result.

Step #5: Check Your Filter
Once you begin cleaning your system, you’ll want to make sure your furnace filter is in place. Otherwise, you run the risk of dumping all of that dust straight back into your HVAC system, counteracting all of your hard work.
When you’re replacing filters, bear in mind that your HVAC system has different demands placed on it with each change of season. Using season-specific filters will help your HVAC system manage these different demands and provide your home with the freshest, cleanest air possible.
Cleaning your HVAC system dramatically improves the indoor air quality of your home or building, so you can truly enjoy being there. It’s recommended you clean your air ducts every 3 to 5 years. If you don’t have the time, the tools, or the confidence to clean your ducts yourself, contact Ventilation Power Cleaning Inc. today!


If you have any questions or comments, email me
at [email protected] and those questions are answered within 30 minutes.
OR if you would like more information on Our Proven Unique Systems and Programs, call us
at 425-295-2544 or visit our website www.GeorgeMoorhead.com
For FREE Online Home Evaluation,
please complete the form below
Looking for Investment Properties?
Let us know what you need

©2020. All rights reserved
GEORGE MOORHEAD - Bentley Properties
[email protected]
Direct: 425-295-2544
14205 SE 36th St., Suite 100, Bellevue WA 98006
Office: 425-747-1901
www.GeorgeMoorhead.com